Press info
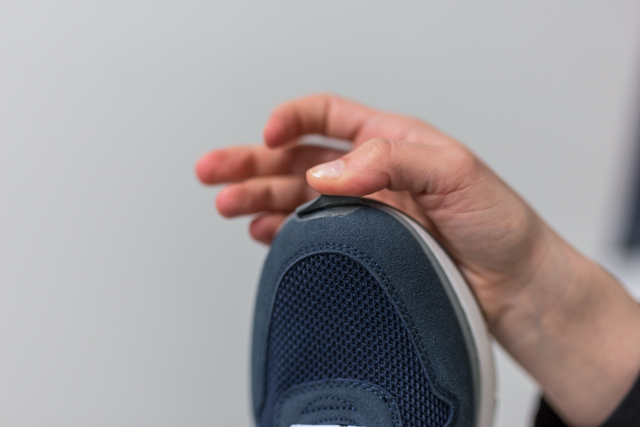
For many people, shoes are the most important element of an outfit. Despite the fact that there are many types and cuts of shoes available on the market for every occasion and in every color, sometimes it is difficult to choose shoes that will guarantee maximum comfort, wearing and will fit into various outfits
And when we manage to find such a model, every little damage starts to make us anxious. The vision of throwing away your favorite pair of shoes and the difficulty in finding a replacement can be really gloomy. Many damages, such as unstuck sole, broken off strap or other defects can be repaired by ourselves. How to do it? Peeling off the sole does not have to be a reason for a quick visit to the cobbler. Gluing shoes is an activity, which you can easily do yourself at home. What should we do when our favorite shoes get damaged? Reach for the proven shoe glue.
Gluing damaged shoes is very simple and consists of five steps. If you follow the instructions, you can be sure that your favourite shoes – casual, outdoor or sports – will be able to withstand many of your requirements – training, walking, playing with children, mountain expeditions or everyday activity
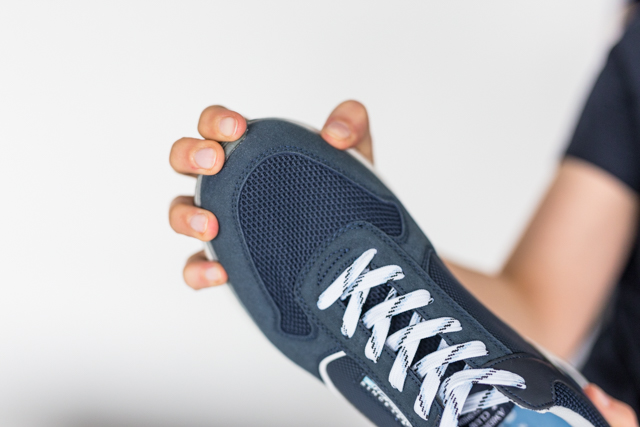
– Shoe gluing is not a difficult task, however, in order for it to be effective and the repaired shoes to serve us for a long time, we should follow the rules that allow us to do it successfully. First of all, the broken shoe should be properly cleaned. Its surface should be clean, dry, free from dust, grease or other dirt. It will give us a certainty that gluing will go smoothly and will be permanent
– says Ewa Tacka, Project Manager of Bostik company
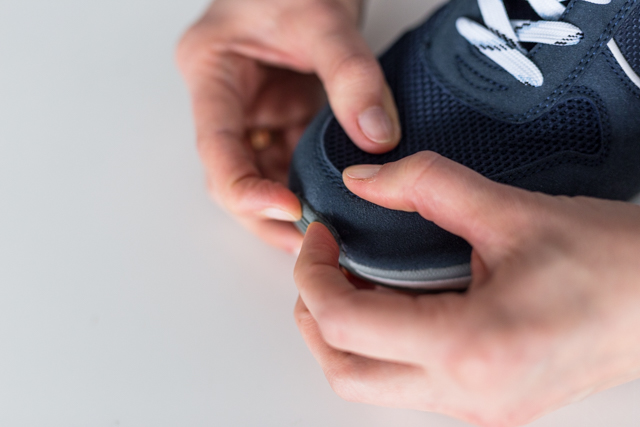
When the shoe is already properly prepared for gluing, you can proceed to the next steps of home repair. At the beginning, you should evenly apply glue on both surfaces which are to be glued. For this purpose, it is advisable to use a brush or a shoe glue dispensing tip. Then wait about 5 minutes, because this is how long it takes for the initial evaporation of solvent contained in the adhesive substance. After this time, the glued elements should be pressed firmly together. It is worth remembering that the strength of the bond depends on the strength of the pressure – hence we may use a vice or other handy accessories. Another stage of gluing shoes is tapping the toes and edges with a rubber hammer. After such gluing, the shoes should be left to dry and set for another 12 hours. When this time elapses, you can confidently put on your new-old shoes and enjoy their comfort.
Shoe glue – how to choose it?
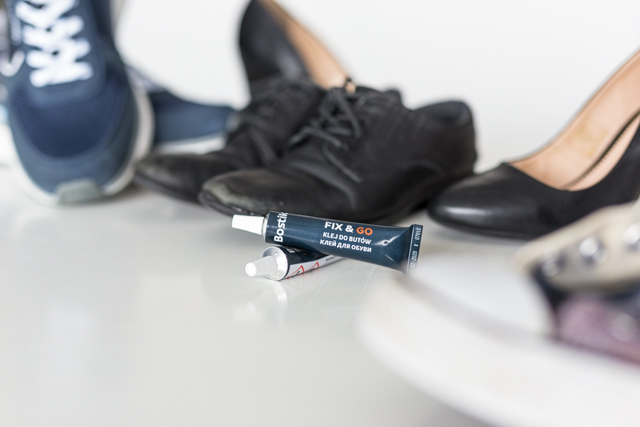
When choosing shoe glue, it is worth choosing a proven, strong and resistant to bending and external factors solution, which will cope with its task. Fix&Go shoe glue from Bostik is distinguished by extreme resistance to UV radiation or rain, which will allow you to enjoy glued shoes in variable weather conditions. It is colorless, so you can be sure that the resulting joint will not affect the aesthetics of your favorite shoes. The product works great for bonding natural and artificial leather, rubber, felt, coated fabrics, nylon, PVC, and even wood. This means that you can use it for more than just shoe repair. Thanks to its flexibility and resistance, it is ideal for gluing sports, trekking or dancing shoes
Gluing shoes is a simple operation, thanks to which we can prolong the life of your favourite sneakers, sandals or boots. Using a durable glue and following the rules of shoe repair is the key to successful home shoemaking. Shoe glue is a solution that should be included in a layette ready for emergency situations
Photos: Bostik